For me cookies are one of life's little pleasures especially gooey, chocolate cookies!
(Alright, alright I admit I'm a bit of a chocaholic- Who's with me?)
So I thought I'd attempt to make my own and I was pleasantly surprised by how well they turned out.
After all I am no baker-
My family have this running joke that I'm going to live off a Mars bar when I go to University because I'm not very good in the kitchen and do you know what the worse thing is?
I don't even like Mars bars! (Sobs to self)
So armed with Tanya Burr's trusty 'Milk and White Chocolate Cookies' recipe, I thought I'd give this baking malarkey a go...
I mean how hard can it be anyway?

Equipment and Ingredients you will need to make ten cookies:


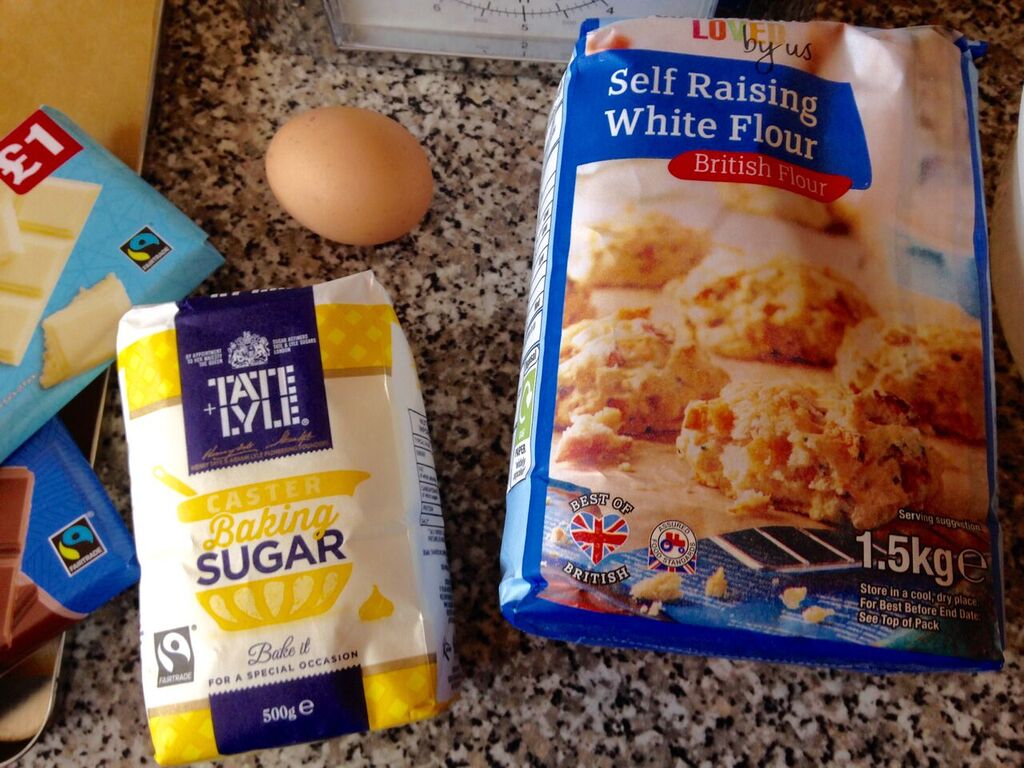


200g butter
300g caster sugar
1 egg
325g self-raising flour
150g white chocolate
150g milk chocolate
(In Tanya's recipe it said 200g of the two different types of chocolate but I found 150g was enough to use)
A whisk
Mixing bowl
Baking trays
Greaseproof paper
Scales
A spoon to release any mixture stuck in the whisk
Small bowl and fork to crack the egg in
(because knowing me I'd probably drop the shell in)
Now your ready to bake!
Just before you start pre-heat your oven on to 200 degrees
Ready, get set, bake...
(A little "Great British Bake Off" reference there)
Step 1.

Measure out the 300g of caster sugar and tip into the mixing bowl
Step 2.


Measure out the 200g of butter and tip into the bowl with the caster sugar. Now mix the two together with a whisk until the two become combined together. It should go a pale yellow colour.
Step 3.
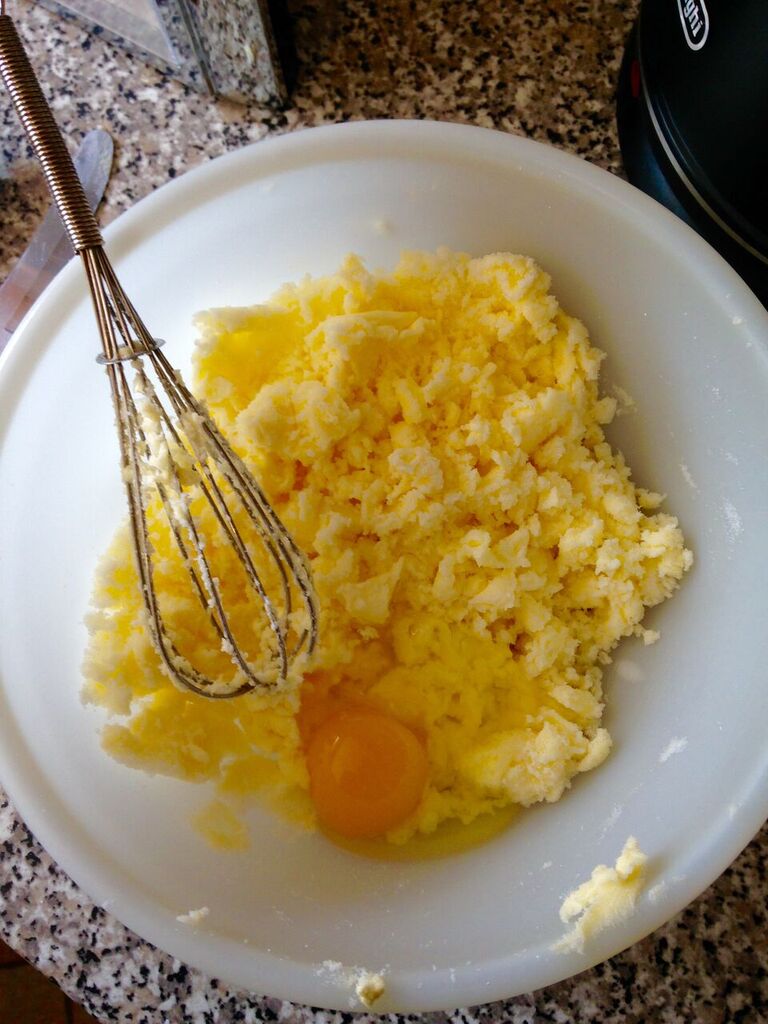

Now crack the egg into the bowl, you can do this straight into the main bowl or you can do it in a small bowl first to ensure you don't drop any of the shell in (like I probably would).
Mix the egg, caster sugar and butter together until it becomes an even consistency.
Step 4.


Measure out the 325g of flour and gradually tip it into the bowl a little bit at a time until all the flour is nicely mixed in. By now you will have noticed that the mixture is getting quite tough to mix but don't worry this means it's going right.
You can do this!
Step 5.

Once the flour has been mixed in, the mixture will resemble a lot like dough. If you dough feels a bit dry add a splash of milk or water, likewise if it's very sticky add a bit more flour like I had too.
Step 6.

Now for the fun chocolate bit, snap up both bars of the 150g chocolate bars into chunks and fold these chunks in the the dough so it's nice and even.
It okay also if some of the chocolate accidentally on purpose ends up in your mouth during this bit, just make sure you wash your hands!
Step 7.

Now as evenly as possible split the dough into 10 equal balls and place on the greaseproof paper on the baking tray.
Step 8.

As you've already turned your oven on, it should be warm enough to put the cookies straight in.
Be careful though because it's hot!
Leave them in the oven for 11 minutes
Step 9.

As you can see my cookies all merged together but don't worry we can sort this out later, leave the cookies to stand on a cooling rack for 25-30 minutes before touching.
Step 10.

Careful with a knife sliced around each cookie to separate it from it's little mate and place on a plate to share with your family and friends- or just enjoy the lot to yourself!
Enjoy!
I hope you liked this post and that you found my instructions easy to follow.
I'd love to see how your attempts at these delicious cookies turned out in the comments below.
Would you like to see more baking posts?
I'll be back soon, Take Care.
X
No comments
Post a Comment